Downloading and Starting Godot
Go to the downloads page at www.godotengine.org and download the latest version. It comes as a zipped archive file that can be expanded. As of the writing of this tutorial, there are two application files in the expanded folder. You can place these anywhere on your computer that is convenient for you.
Launch the first application when you are ready (the second one, which ends with a “_console” in the name, opens up an additional console window for you to work in. We will not use it for this tutorial.)
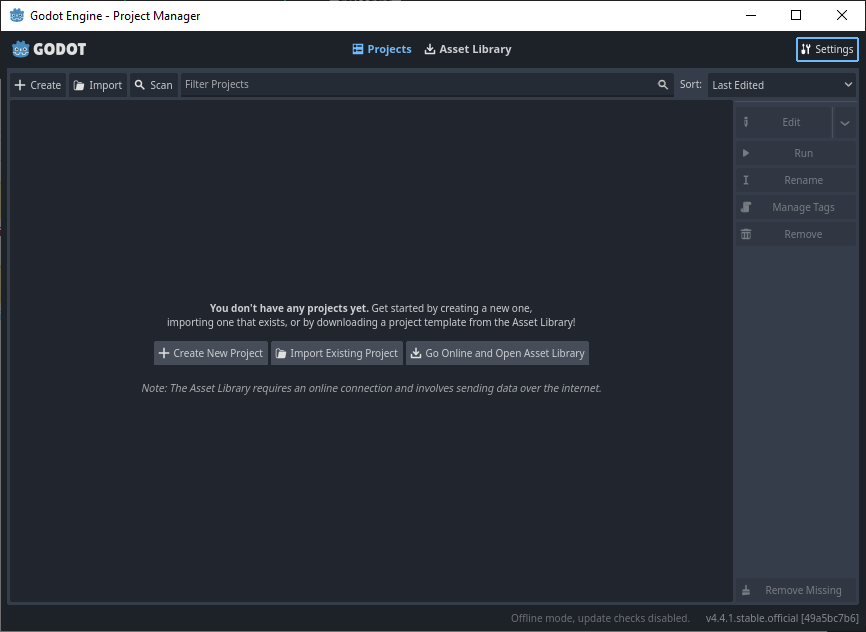
The first window that opens up is the Project Manager. This is where you’ll begin creating your first name, but first I recommend checking out the Settings option in the upper right corner of the window.
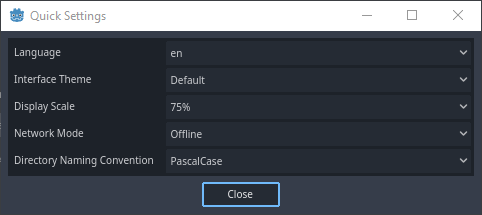
A new window will open up to allow some basic modification to Godot. These options will be stored on your computer so that, when you relaunch Godot next time, your settings will be restored. I like to have a bit more room in my project window, so I will change the Display Scale. I also prefer the PascalCase naming convention for my project files. Feel free to change the settings to suit your preferences. Click Close when you are ready.
Returning to the Project Manager, you can click on either of the Create buttons to start a new project.
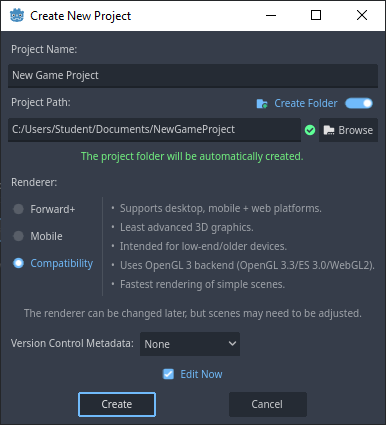
The Create New Project window has some options for us to fill out. Name your project whatever you dream and feel free to modify the Project Path to where you want your project to be stored. For Renderer options, any of these are fine but for our tutorial project I chose Compatibility. Most of our scenes will be simple ones, and this will be better for devices that may not have much memory. Note that you can change this option later, but scenes may need to be adjusted.
Another thing that can be changed is the Version Control Metadata. I recommend setting it to None for this tutorial.
Make sure the Edit Now checkbox is selected, and we can click Create to start the engine!
There will be a loading screen before the Godot Engine is displayed. This can be a short or long wait, depending on the size of your project and computer’s memory. For new projects, you might be started off in a 3D scene.
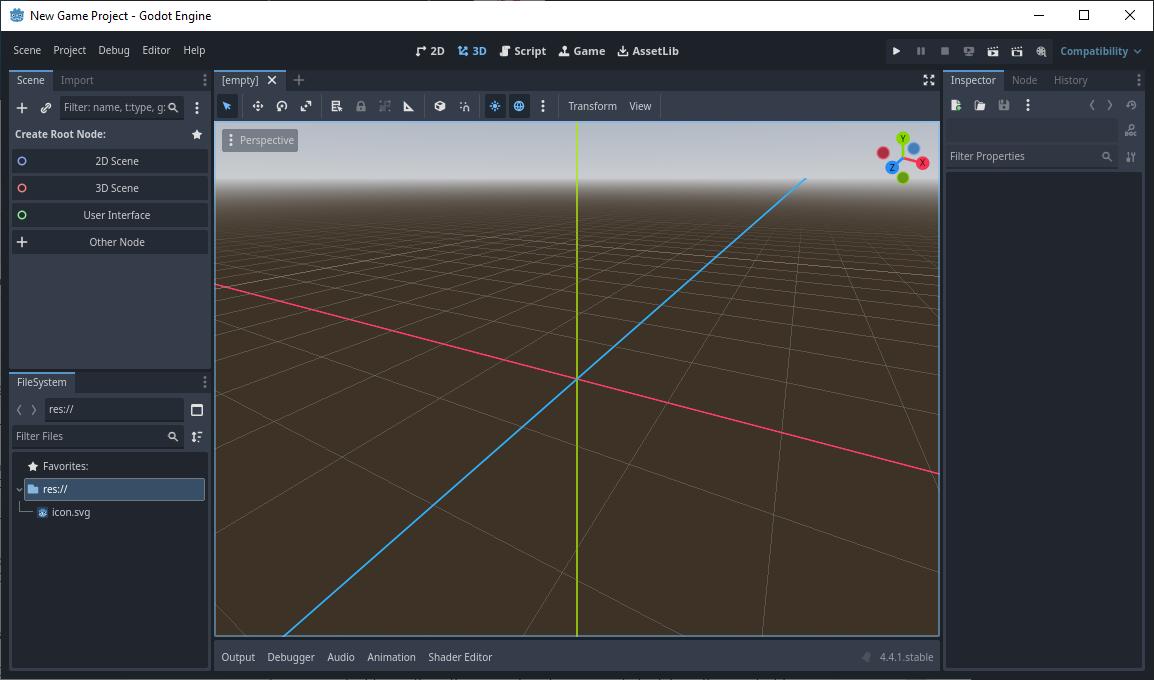
It will be exciting to get into 3D game development, but we need to learn the basics of Godot first. 2D games are far easier to develop, and you can learn many of the important game design principles from 2D games first to apply to 3D games later. Our goal is a 2D top-down, tile-based adventure game, So we need to change over to the 2D scene by clicking 2D near the top center of our engine’s window. Your window may appear different than mine due to different monitor resolutions, but the 2D scene is a grey stage with a colored crosshair, which represents the center of the scene.
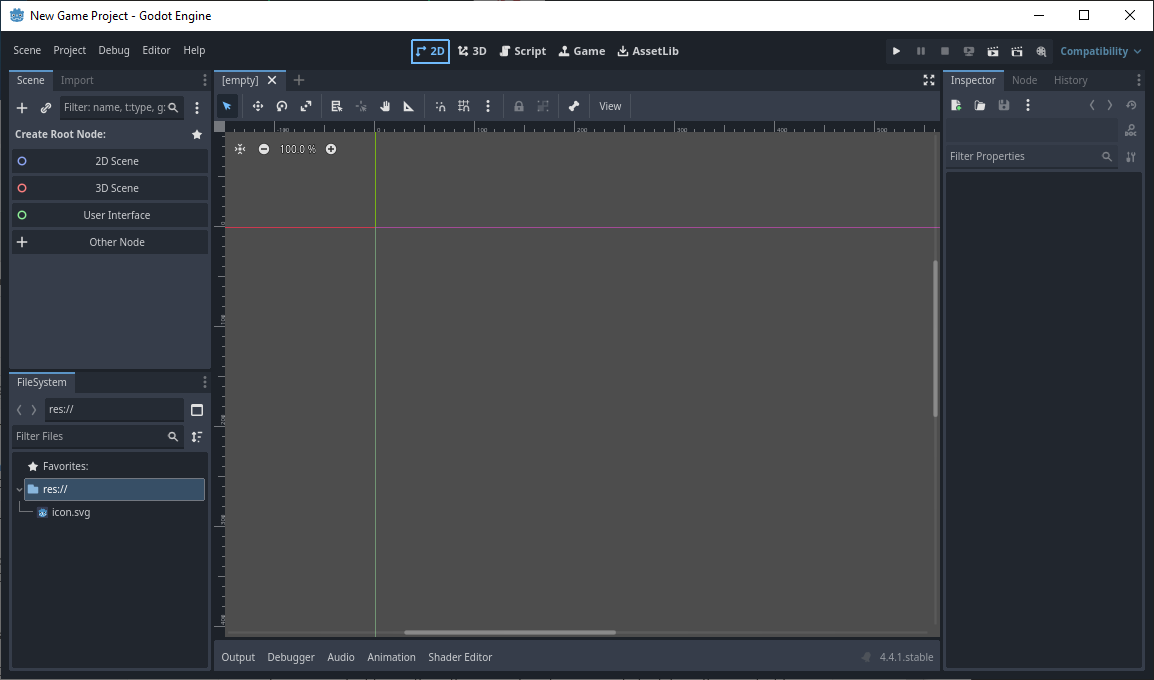
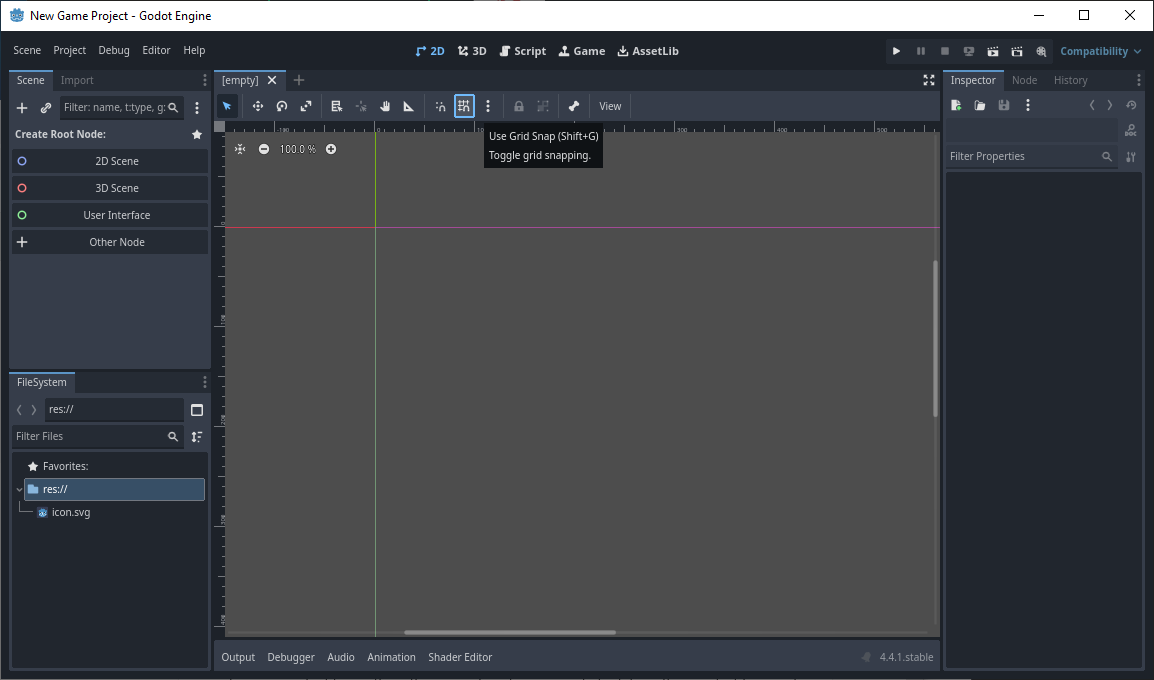
Since we want to create a tile-based scene for our game, it would be helpful to have a grid to align objects to in our scene. You can enable the Use Grid Snap option by clicking on it’s icon in the scene window.
Additional options for the grid can be found in the kebab icon next to the Use Grid Snap icon. (Kebab is the three vertical dots.) Make sure that Use Pixel Snap is enabled for this tutorial, so that our objects can aligned well with the grid.
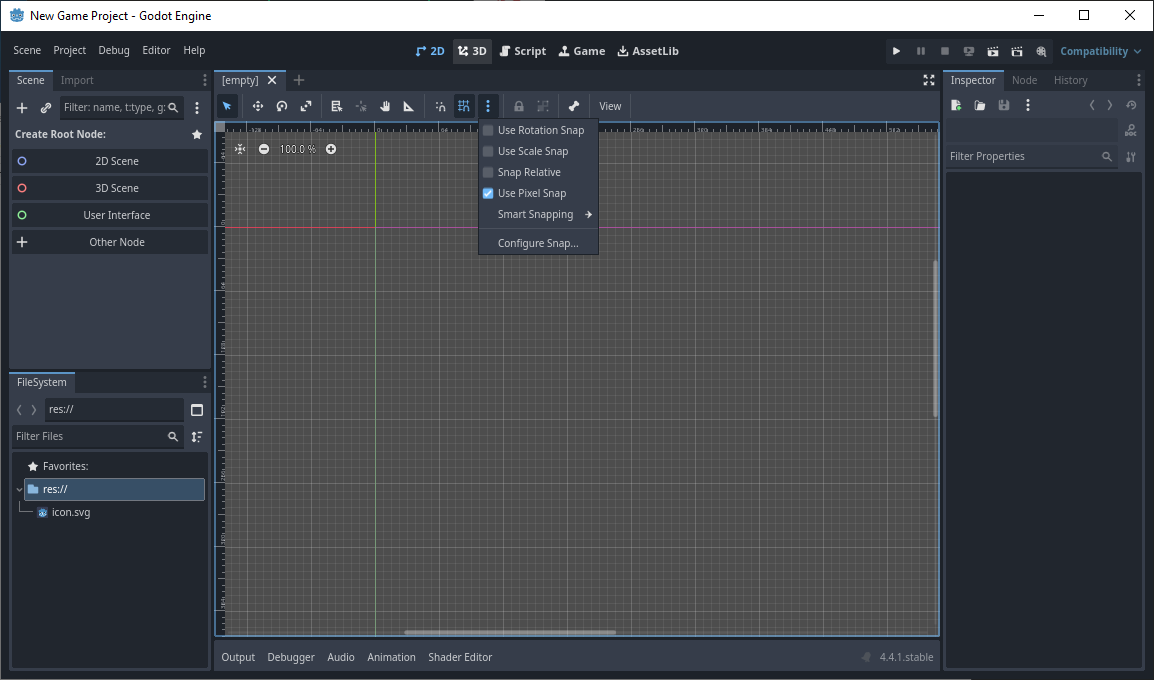
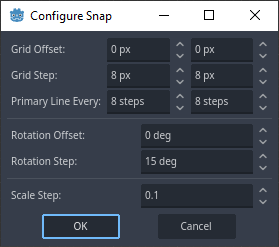
By default, a tile size is usually 16x16 pixels, which Godot by default breaks these into quarters or 8x8 pixels between grid lines. If you want to work with a custom grid size, you can find that option under Configure Snap…, which will open the Configure Snap window. You can use this option to change the layout from orthogonal to isometric if you wish. Leave these options at the defaults for this tutorial. Click either OK or Cancel to return to the engine window.